Vinyl Stickers Guide
The LaserPoint3 vinyl cutter is used to cut outlines into sheets of adhesive vinyl to make stickers. The vinyl cutter only understands vector images (.AI or .SVG, typically). If you aren't sure what kind of image you have, or need to convert a bitmap image (.JPEG, .PNG, .GIF, etc) to vector, see the Vector and Bitmap Image Guide. You can also use our latest vinyl cutter software to vectorize any bitmap image.
Graphics preparation
Once your vector design is finished, open up the vinyl cutter software, called VinylMaster.

Copy your image into VinylMaster and click on the vectorize button.
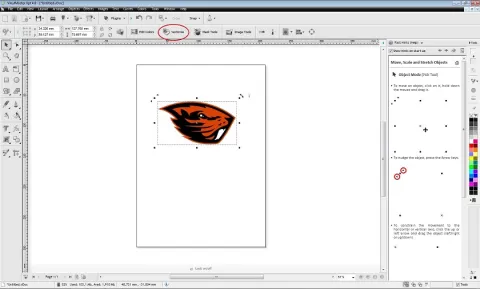
In the Vectorize settings box you will have many options to change how your image will be vectored. The top box shows your original image while the bottom one will give you a preview of the vectored image. Once you have edited the photo to your liking, click "trace" in the bottom right corner and if you are happy with the result, click "accept".

Double-clicking your design will bring up the rotation handles, which you can drag to rotate the design. Alternatively, you can change the angle in the top bars
You can use copy and paste to create as many copies of your design as you need. More closely packed designs can help to conserve material.
Loading the vinyl cutter
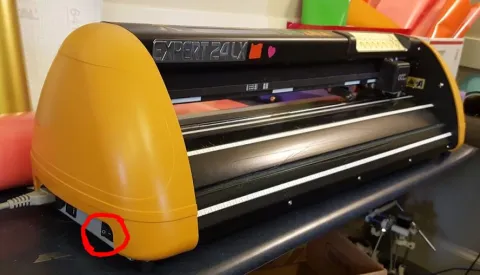
To start, make sure the cutter is powered off using the switch on the bottom left of the machine.
Place your vinyl roll on roll holder, making sure it can spin freely. For heavier rolls, it may be necessary to manually unroll your material ahead of time, as the cutter might not be strong enough.
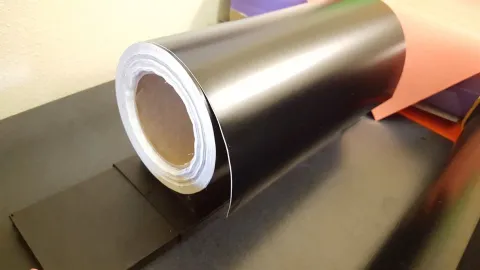
Slide the material through the back of the machine. Line up the edge with both of the rulers on the cutter to make sure the roll is straight.
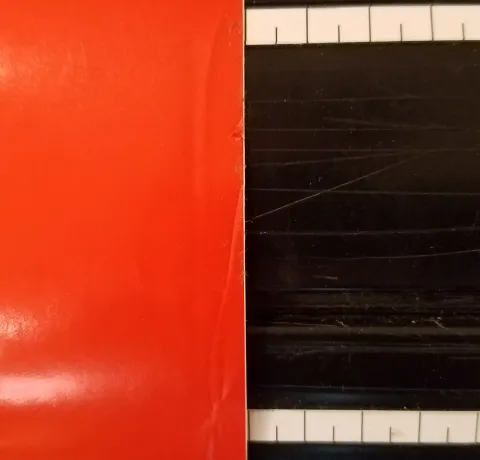
Reach behind the machine to find the handles for the guide wheels. Two of these wheels have clamps, and these need to clamp the vinyl on the rough-textured grips. The white rectangles show where the grips are; try to line up the roll so you can clamp as close as possible to the edges of the vinyl. Push down on the levers to clamp the wheels.
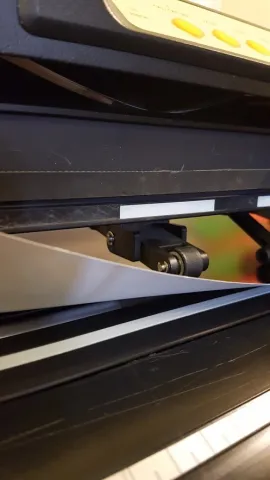
Using the control panel on the Vinyl Cutter, press local pause, then use the arrows to move the cutter arm to the bottom right of your material. It is extremely important that you hit local pause because if you don't, you will change the speed and pressure settings on your cutter. Once you have the arm in the right place, hit the origin button to tell the program where to start cutting.
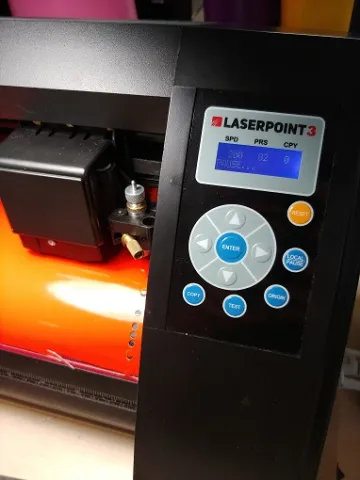
When your design finishes, press the local pause button to move your design down and off the cutting platform, or unclamp the material and role it out. If you plan to cut more stickers with the same material, you can use the arrow keys (after hitting local pause) to feed the material down without re-clamping. If you are done with the material, just unclamp and slide the vinyl out the back. Use scissors to cut the strip containing your design from the roll.
Picking the sticker
If necessary, use scissors to cut out the area immediately surrounding your design. Use tweezers to pick out all the negative space — areas where you don't want the sticker to be.
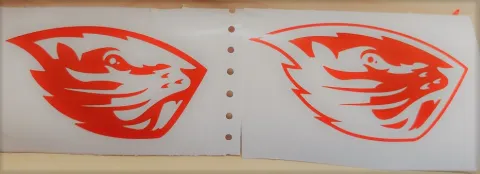
Pull the roll of adhesive transfer paper over your stickers, and carefully smooth it down over the stickers. Any wrinkles or bubbles can ruin the sticker, so be sure to get a nice, flat layer of paper. Cut the transfer paper. Grab the roller tool, and roll it over the stickers, pushing down hard. Cut around each sticker, removing any overhanging transfer paper. Be sure that all your scrap vinyl, backing, and transfer paper is thrown away.
Applying the sticker
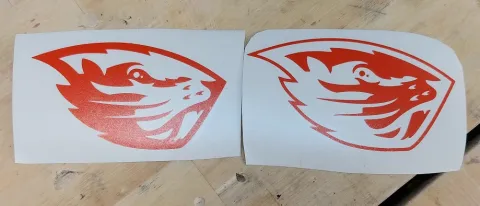
To apply the sticker, peel off the white paper backing. Place the sticker in its desired location, and press it down to get a strong stick. Peel back the transfer paper carefully. If the vinyl starts coming off as well, gently peel it away from the paper, and stick it back to the surface. Throw away the backing and transfer paper, and the sticker is done.
Troubleshooting
The vinyl keeps warping during the cutting process and slipping all over the cutting area:
Your clamps are most likely not on the gripped section of the rotating bar. Otherwise, your vinyl could be too short.
The final sticker does not pick easily; the image is sloppy, or the cutter cut too deep into the vinyl:
Most likely someone changed the speed and pressure of the cutter, speak to a staff member if you are cutting something other than normal vinyl. If you are using normal vinyl, set your pressure to 70-80 and your speed to 200.