DAMLab
3D Printing Guide
Fused deposition modeling
3D Printing at its simplest is the process of depositing two-dimensional layers that stack up to build a three dimensional object. While there are many methods for doing this, the one most commonly used and the method available in our makerspace is called fused deposition modeling or FDM for short. 3D printers use filament to create objects. This filament is fed from a spool into the printers hot end, which reaches temperatures of 200+ Celcius. The printer moves the hot end on a 2D plane, slowly building up a 3D model.
Software
Fusion 360
Fusion 360 is created by Autodesk Inc. and is a cloud-based CAD (computer-aided design) tool that is capable of both geometric and organic shape modeling. There are many tutorials available at Autodesk's website, linked below, as well as numerous resources on YouTube.
Solidworks
Solidworks is the industry leading engineering CAD tool. It is geared toward professionals creating parts and machines for industrial purposes. For geometric forms Solidworks is a good fit. Unlike Fusion 360 the software licenses available for Solidworks are more restrictive. Do not use a student license for entrepreneurial activities.
Tinkercad
This tool is geared towards beginners and is an in-browser CAD tool. If you are looking to model simple shapes, then this tool is for you. Though simple, TinkerCAD's skills can help you build an understanding of a 3D environment. Get TinkerCAD.
Pre-made models
Websites such as Thingiverse and MyMiniFactory contain entire databases of pre-made models created by individuals specifically for 3D printing. These websites can provide sources of inspiration for your own models, in addition to a variety of ready to print models. However, almost all models are listed under the Creative Commons license. This means you cannot sell any objects you find on these websites without explicit permission from the creator.
Material properties
ABS Plastic (Acrylonitrile butadiene styrene)
- Strong and rigid plastic used in industrial and household products
- 1mm minimum wall thickness
- Stable at up to 150℃
- NOT FOR USE IN THE DAMLab due to fume emissions when printing
PLA (polylactic acid)
- Biodegradable in industrial compost
- 1mm minimum wall thickness
- Cleaner prints with faster cooling and steeper overhangs
- Flexible and formable when put in boiling water
- This is what we use in the DAMLab
Other materials
- Metal powder-infused filaments for extreme strength
- Wood-infused filament allow for exotic looks as well as staining
- PC-ABS blends, for durability and outdoor strength
- HDPE, for extra strength. Much harder to print with as it does not like to stick to the bed
- TPU, a soft and squishy material for moving parts
3d printer glossary
If there are any terms you are unfamiliar with, be sure to take a look at this helpful glossary, linked here: 3d Printing Glossary
File format
Before a file is ready to 3D print, you will need to export it to a ".STL" or ".OBJ" format. This format converts the file into a mesh made of different sized triangles that can be read by all 3D printing control programs. It is important at this stage to note the approximate dimensions of your design. This will help to scale the design to the proper size when it is imported into the 3D printer software.
File upload
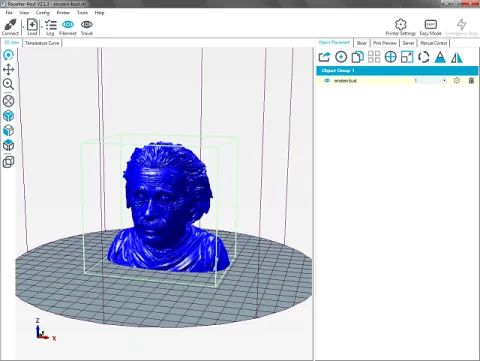
Open the program Repetier and select a printer in the top right corner (where it says connect). Drag and drop your file into Repetier. After a moment of rendering, a 3D render will appear of your object. From the first menu you can change its size, rotation, and position on the printing bed. Make sure to keep the print size within the printing area available.
Orientation
Because of the layer-by-layer basis by which 3D prints are made, their strength is similar to other layered materials like plywood. When designing your prints. it is often a good idea to determine the orientation before beginning the design process, so that strength as well as the effects that gravity will have on the part as it is printed can be accounted for.
Overhangs
As each layer is printed it must be supported. When parts extend out over the air, a printer can print support material that will be broken off once the final part is finished. Sometimes the part orientation can be changed to minimize the overhang, or the design itself can be modified to reduce the overhang. In general, it is a good idea to follow the "45⁰ rule." Simply put, don't design or orient models with overhangs steeper than 45⁰.
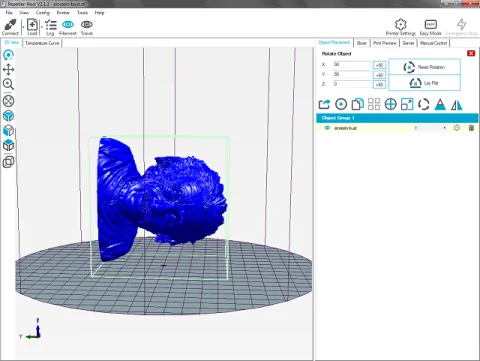
Above is an example of a badly oriented model, here is where the rotation tool should be used to reduce the number of overhangs.
Slicing your model
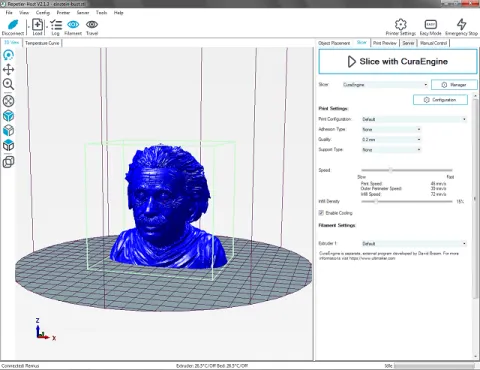
Next, go to the “Slicer” tab and check the settings available there. In this tab you will have two options for slicing: Cura and Slic3r. Cura is better for faster printing, while Slic3r is for better quality. When using Cura, you can choose between your adhesion type, support type, quality (layer height), speed and infill density. Click the “Slice with: "_____” option to set your parameters and slice your model.
Using Cura settings
Quality
The quality option determines the height of each individual layer of the print. The smaller this height, the better the quality. With this however, comes increased printing times. For higher quality and longer prints, use 0.1mm layer height. For general use, use 0.2mm. For quicker prototype prints with minimal detail, use 0.3mm. Do not go above 0.3mm layer height or below 0.08 mm.
Adhesion types
- None: There will be no additional adhesion between the bed and the model, it will only touch the bed where the model touches the bed. Most of the time you will use this option
- Brim: A one-layer tall outline will be built around the model to help with stability. Use this when worried about the model tipping during the print phase.
- Raft: Like a life raft for your print, this layer of plastic is printed first and sits under your print and keeps it from peeling off the build plate during printing. If can be removed when the print is complete. The raft is useful if your print is long and flat, because some warping may occur during printing due to temperature fluctuations.
Support types
- None: Supports are only needed if there any overhangs that have an angle over 45⁰ above the bed. If your model doesn’t contain any overhangs, it does not need supports.
- Touching bed: Supports will only be built in places where the model hangs over the bed, if there are overhangs that are located above more of the model, it will not create supports in those locations.
- Everywhere: Supports will be placed anywhere the engine determines supports are needed, these can include places that really don’t need supports, so keep this in mind.
Print speed
To avoid jams the printing speed should never be set above 50 mm/s.
Infill density
The basic idea of infill is that your print does not need to be solid plastic. For general prints of all kinds, 10-20% infill is plenty. For large prints with minimal detail, 5-10% is good, even for high-strength parts, 100% is not necessary and is just wasteful. 60% infill is the highest you should ever print at for high strength pieces.
Using Slic3r settings
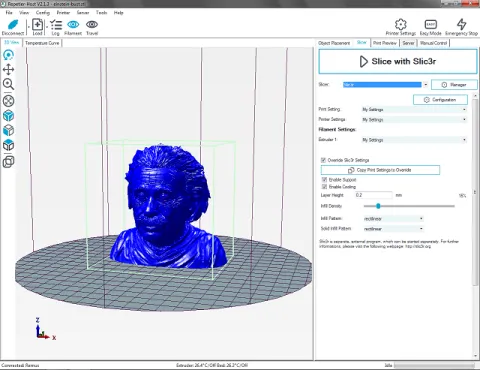
Do not change any of the preset setting in the Slic3r engine except for enabling support, the layer height, infill density and the infill patterns. Unlike the Cura engine, Slic3r does not give options to the types of support, it will determine what needs support and what doesn’t.
Layer height
As discussed earlier, layer height will directly determine the quality of the print, stick between 0.2 mm and 0.3 mm most of the time.
Infill density
Follow the same instructions given above in the Cura section.
Infill patterns
Infill pattern is the shapes inside of your piece. Generally you will not need to change this setting, and if you’d like to learn more, talk to a staff member.
Printing
Once your model has finished slicing, Repetier will take you to the “Print Preview” tab. Here, simply click the Print icon, where you will be taken to the Manual Control tab. At this point the printer will begin heating the bed. While this is happening, check the role of filament attached to the printer for its specific temperature needs.
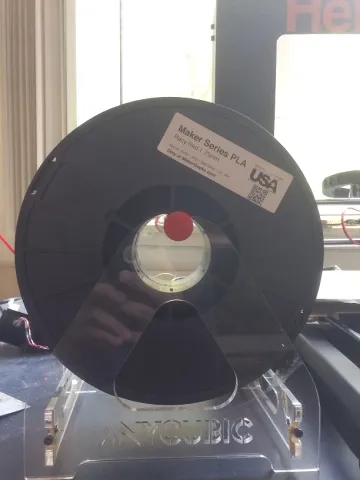
Now check the heating setting for the printer. If the temperature setting for the bed and/or the extruder are incorrect, you will need to manually change them to the correct temps.
Note: if you change the temperature setting for the extruder before the extruder starts heating up, the program will automatically change the temperature back to the previous setting, forcing you to change it again.
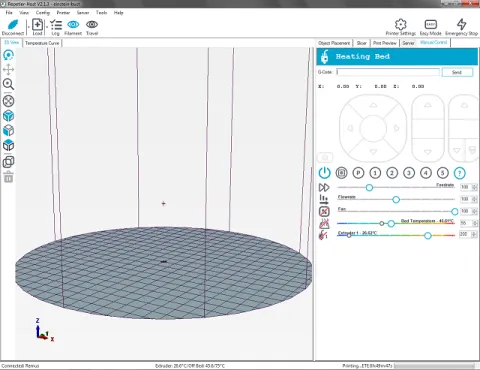
During the heating up phase, stay near the computer to keep an eye on your temperature values as well as the printer itself.
Ensuring the print will work
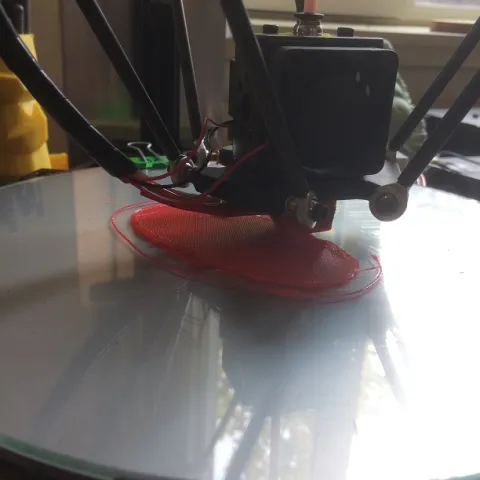
Once the printer begins its sequence, you will need to wait by it, watching for errors before you can leave it alone. Allow the printer to build at least 2-3 layers before you can be sure that the print will not fail. This does not mean that the printer will work perfectly from this point on; however, 90% of problems become apparent during the first few layers
Common problems
No extrusion/under extrusion
If the filament coming out is spotty or non-existent, this will be the most likely problem.
Uneven Layers
If one side is pressed into the bed while the other is much higher above the bed, the bed will need to be manually leveled by a staff member.
Filament isn't sticking to the bed
Check that the bed is heated to the correct temperature, if not the bed temperature, the bed may need to be leveled.
Removing print
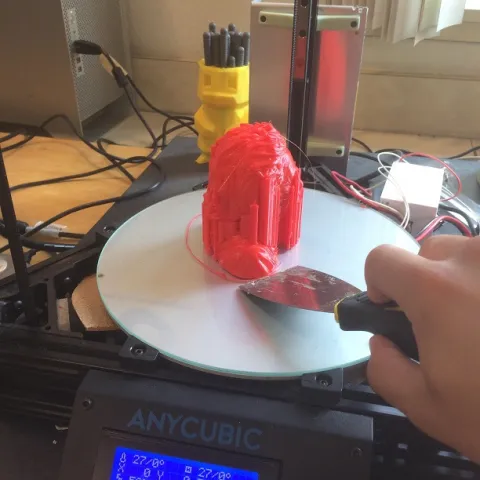
Carefully use the putty knife to remove the print from the bed, keep in mind that these tools are extremely sharp and can easily cut skin. Typically, it is best to allow the bed to cool before removing the print because the bottom of the print can warp from the heat of the bed with the pressure from the knife.
Cleaning Your Model
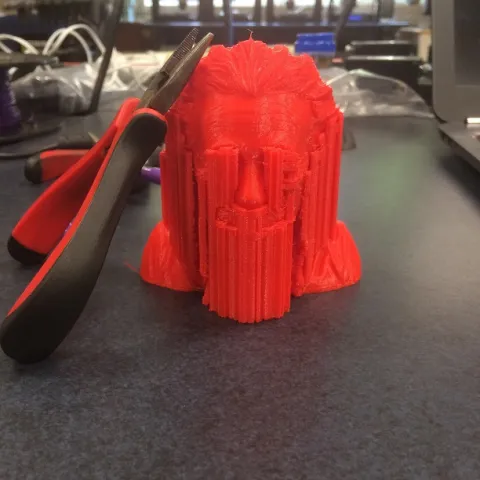
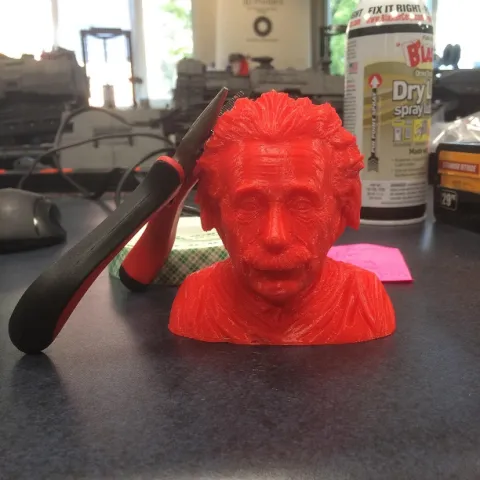
If you had supports in your design, remove them with the help of pliers, make sure to be cautious during this step as it can be easy to injure yourself when support becomes difficult to remove.
Changing filament
1. In the Repetier program, go to the manual control tab and find the extruder option, turn the extruder on and set the temperature to the melting temp for the current filament.
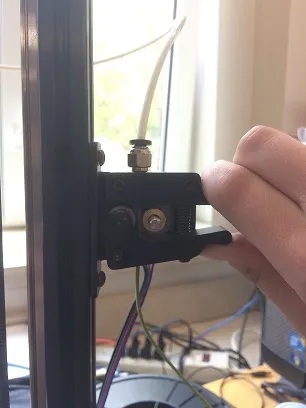
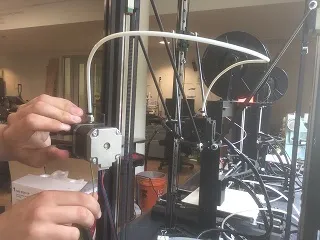
2. Once reaching the melting temp, squeeze the motor with one hand and use the other to pull the current filament out of the printer.
5. Now put the filament you want on the spool next to the printer
6. Make sure the end is cut straight, this keeps the printer from clogging immediately.
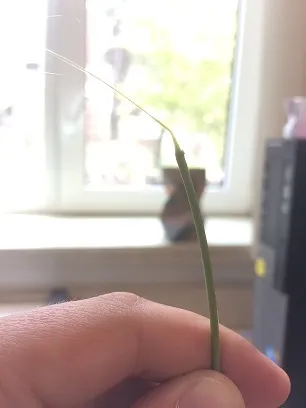
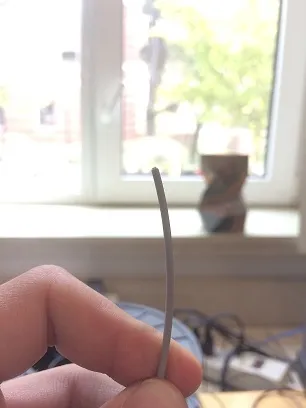
7. While holding down the motor lever push the filament straight through until you see the new color start to extrude.
Note: make sure to turn off the extruder before you start a print or walk away from the printer.